Bing Webmaster Tools (GWT) is a set of free and easy tools helping website owners access their website data such as:
- Which pages are added to Bing’s Index
- What search queries used to find the websites
- Any crawl errors detected by Bing
- Which other sites added links to our websites
Step 1: Login using your Windows Live ID
Login to Bing Webmaster website using your Windows Live ID (click here to go to the Bing Webmaster page).
Step 2: Enter the URL of your site
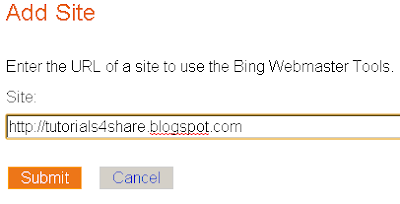
In the SITES Tab, click "Add Site" button.

In the new popup windows, register the site/blog that you would need Bing Webmaster to control over by entering the URL of your site/blog as prompted. Click "Submit" button to continue.
Step 3: Verification
In this step, you need to verify your ownership of a site. This can be done by uploading a blank XML file on your web server , or paste a <META> tag in the <head> tag section of your website/blog html.
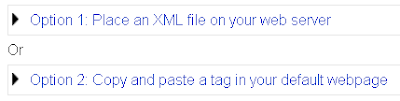
In my case, I add the tag generated by Bing Webmaster Tools to my Blogger blog home page's <head> tag.

<meta name="msvalidate.01" content= "Unique code here" />
Step 4: Access your website's data
After your website has been verified, you are brought to the "Dashboard" page of your website/blog. Here you can review value summary information such as: Traffic, Index, and Crawl.

No comments:
Post a Comment